UPDATE: The OneNote Notebook I used during my #TayMaths2019 workshop and the Scottish Maths Conference (Both the Stirling and Northern Conference) is available at http://bit.ly/2IShY5H. This contains the PowerPoint I used during these workshops.
As a Scottish (Maths) Teacher, I have access to Glow Scotland. Within Glow, teachers have access to Microsoft tools such as Teams, OneNote, Forms and Sway. In this blog post, I will introduce you to each of these, link to examples of each and get you started on using these tools in your own practice.
I have presented a workshop on this at the Scottish Mathematical Council’s Conference (9th March 2019), and will be talking about it at the first Tay Collab Maths Conference on 23rd March 2019 and now at the Northern Conference on 04/05/19.
Using these tools is soon going to become an even more massive part of my work, as next month I am taking up post as PT Mathematics at Bertha Park High School in Perth, the UK’s only Microsoft Flagship School. Here’s a flavour of what the Microsoft tools on Glow have to offer…
OneNote
Let’s get started with OneNote.
OneNote is excellent.
If you’re not using it yet, you really should be.
OneNote allows you to store and share absolutely any type of digital content.
Notebook – This is the full OneNote – it contains all of the sections and pages.
Section – A section is the first level down within a Notebook. This particular Notebook you are looking at has two sections. The one you are in just now is called “Microsoft Tools on Glow”. The other one is called “Other Section”, and contains only one page, which has not yet been used.
Page – The level you are at right now, where I am typing this text and where you are reading this text is called a Page. Pages can be extended in all directions, indefinitely.
Every Notebook can have as many Sections as you like and every section can have as many Pages as you like. There’s no limit other than, I guess, the amount of storage you have in OneDrive, which is where the Notebook is saved.
Creating a new OneNote Notebook
Sign into Glow, open OneDrive and Click on New – this lets you create a new OneNote Notebook in the folder you are currently in on your OneDrive.

This will create a brand new OneNote Notebook, ready to be populated with whatever you want to populate it with.
Sharing your OneNote Notebook
To share this Notebook with you, I clicked on the three dots next to the Notebook’s name and clicked Share:

This box appeared:

And I clicked on the wee arrow next to “Only the people you specify who have this link can edit”

And clicked on “Anyone with this link”

Then, when you hit apply you can copy the link to the OneNote
The link looks like this: https://glowscotland-my.sharepoint.com/personal/gw13allanmichael_glow_sch_uk/_layouts/15/guestaccess.aspx?e=teEuB9&share=Ehg-FsOTQm9CuKmUJx9vpK4BIObzLZ_rk1xqLdGlmLIS5w&cid=b3c0792d-5bc6-485a-bc5d-34ecf54da6de
That’s not easy to jot down, or remember, so I used bit.ly to create a shortened link.
The shortened link is http://bit.ly/2IShY5H
If you want to create a OneNote Notebook and share it with a whole class, it’s probably going to be easier to use Teams…
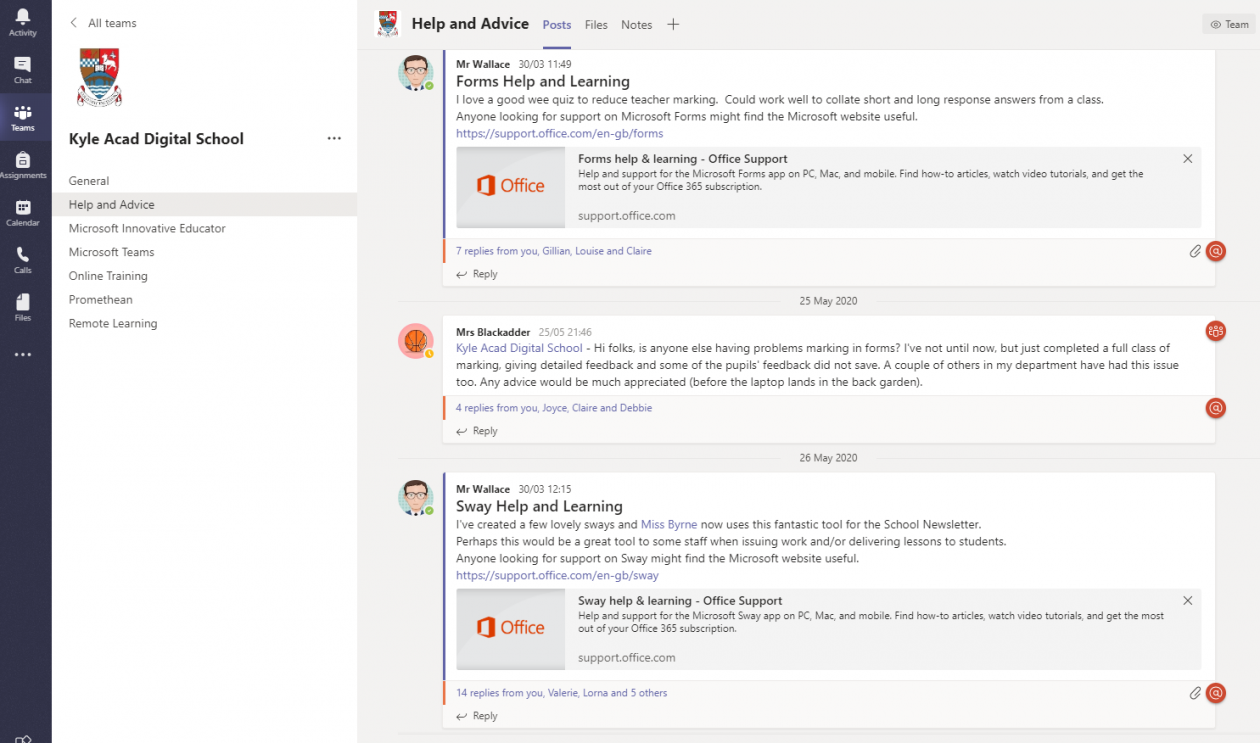
Teams
Microsoft Teams will change the way you work.
If you’re familiar with Edmodo, Schoology, Show My Homework etc, you’ll find Teams easy to use. Even if you’re not, you’ll find Teams easy to use, because it’s really easy to use!
Watch this short video for an intro to Teams: https://support.office.com/en-us/article/video-welcome-to-microsoft-teams-b98d533f-118e-4bae-bf44-3df2470c2b12
To create a Team (and this can be staff only or Teacher and pupils) your best option is to Download Teams (it’s free). https://products.office.com/en-us/microsoft-teams/group-chat-software
If you work in a Scottish School, chances are Teams is already on your work computer.
Once you open up Teams, sign in using your Glow username and password.
This is what it looks like when I sign in:
You can see I am a member of 3 Teams (GHS Maths, Team MIEExpert Scotland and Bertha Park High – PT Team)
To create a new Team, you click on the button near the bottom left that says “Join or Create a Team” You’ll then see this:

If you want to create a Team, then it’s obvious which button to click. If you have been invited to Join a Team (and have been given a code) then that’s obvious too.
When you choose “Create Team” you’ll see this:

Choose whichever option you need. I’m going to create a Class. Give your class a Name and description (if you like).

You can then add students and other teachers to your Team:

Once the Team has been made, you can do a few things with it. Best to play around with these options and see what happens when you press the different buttons. Most of it is pretty obvious.

Clicking on “Manage Team” and then hitting “Settings” shows this page:

You can then create a Team Code by clicking “Generate Code”

Feel free to join my class (you know how to do that if you read the bit above)
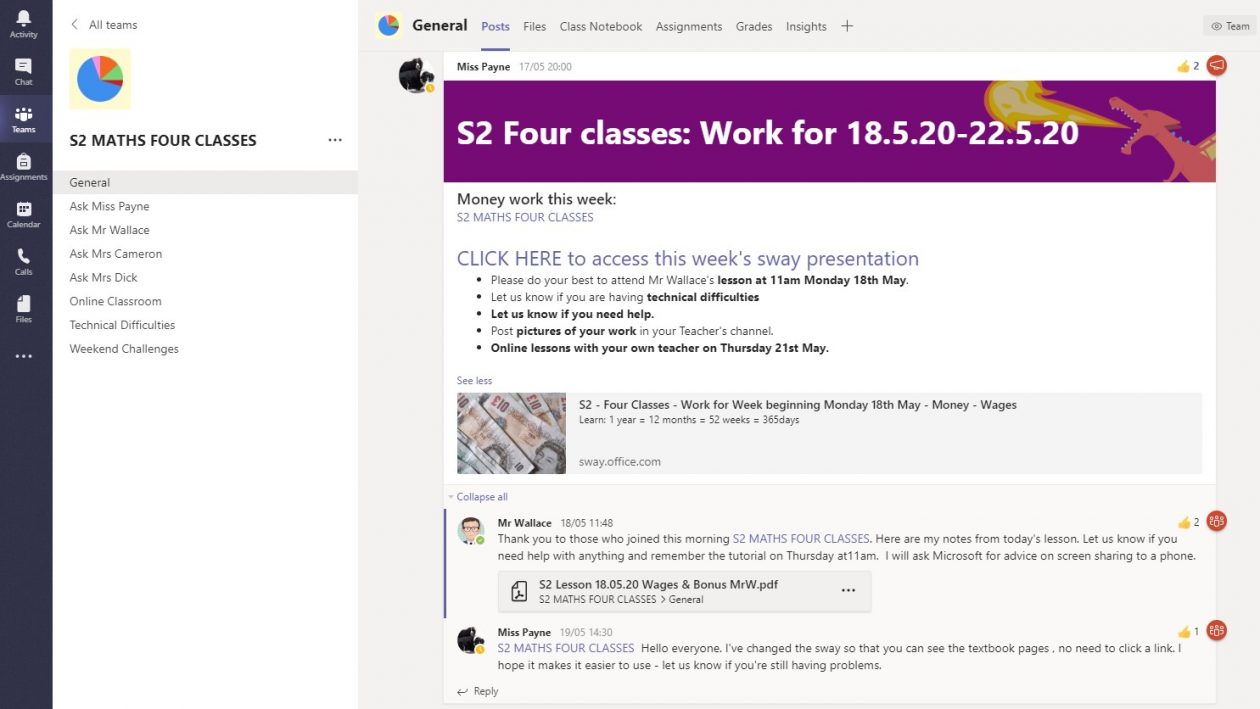
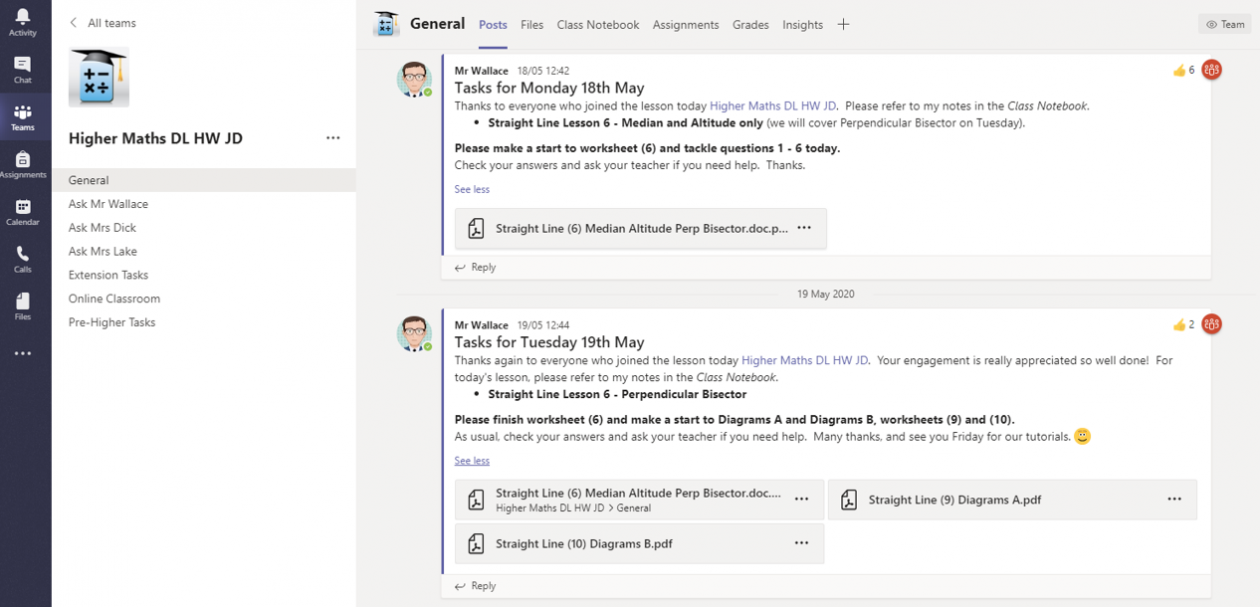
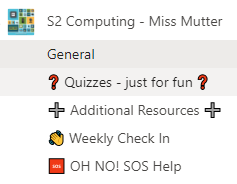
At the top of the Team, when you are in “General” you can set up the Class Notebook. This is the OneNote Notebook for your Team.

When you click on “Set up a OneNote Class Notebook” you will be walked through the process. You can customise the Notebook so that it has all the sections you want it to have.
There’s a video here that will show you (pretty slowly) how this works: Teachers – Get Started with OneNote Class Notebook Creator
My OneNote Class Notebook has been created, ready for using with the class.

I have one pupil in the class (Isaac Newton) but if I had more, they would be listed below. I find it a lot easier to work with the OneNote Notebook in the full desktop version of OneNote, so I click on “Open in OneNote” at the top of the screen.
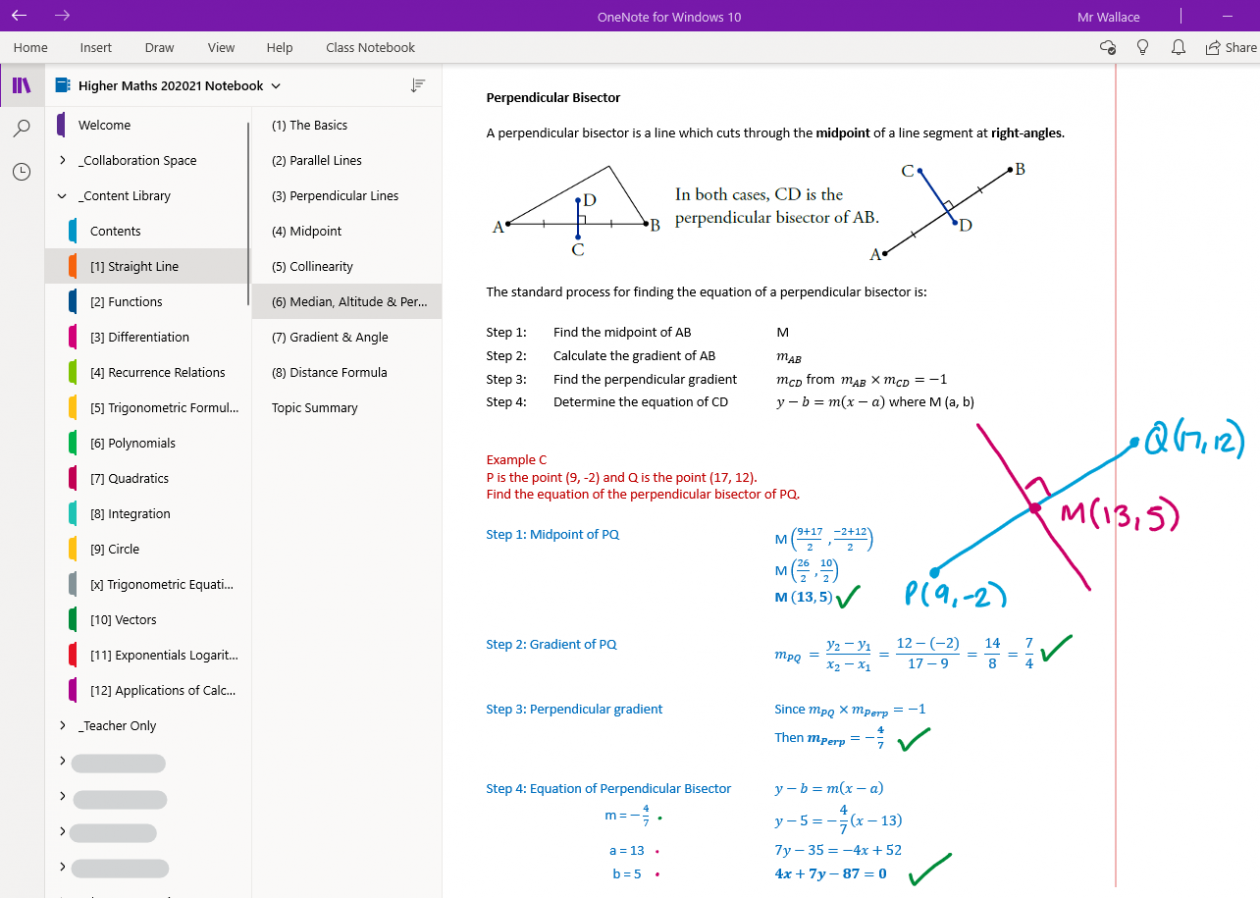
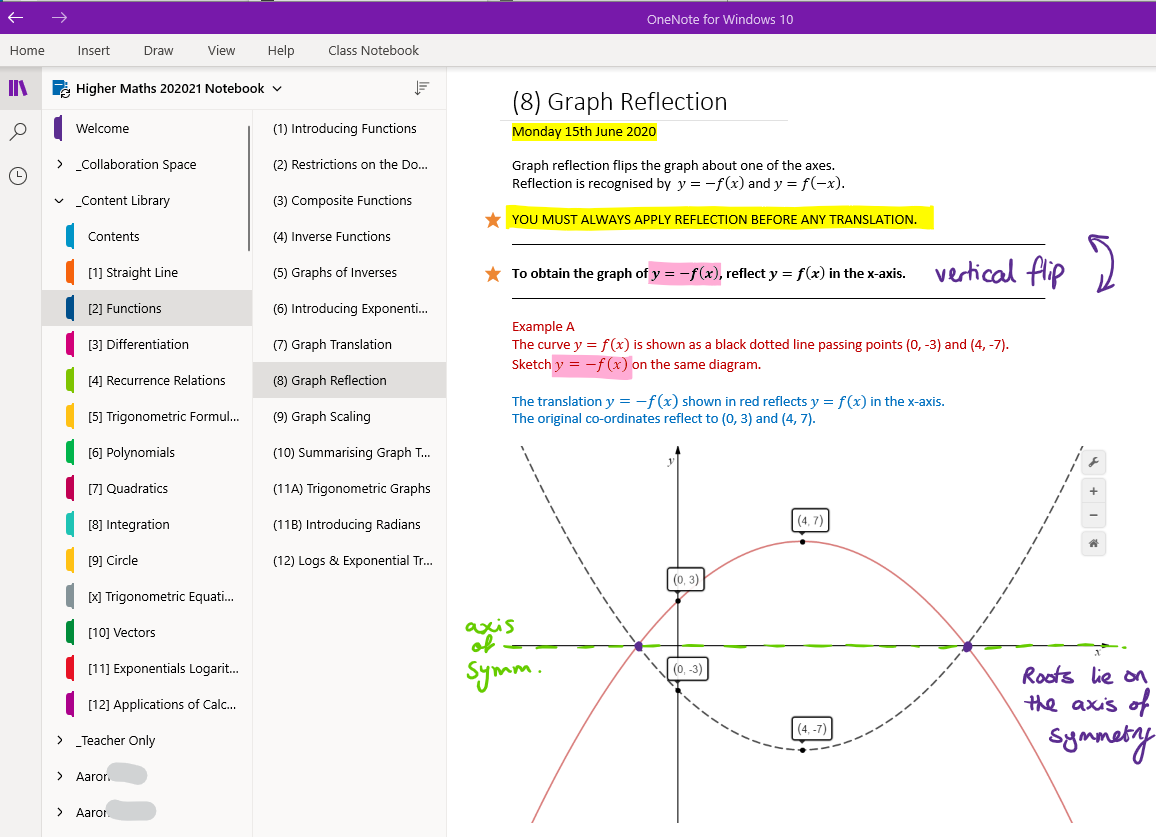
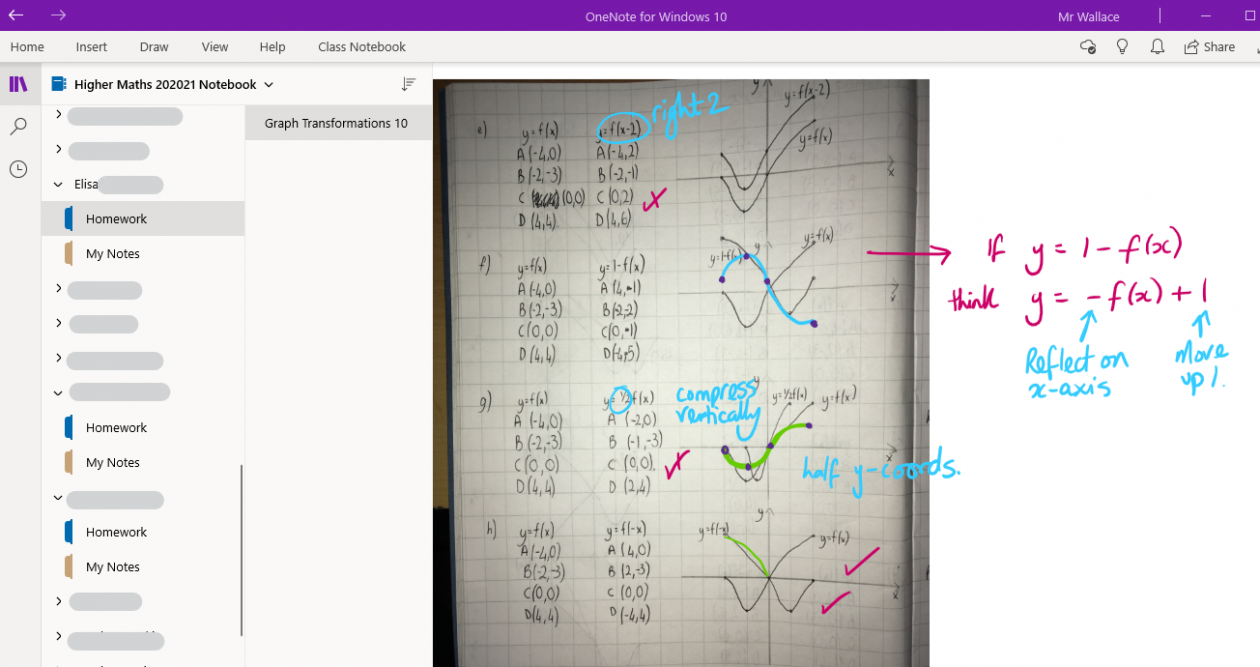
The types of content you might put into the OneNote is entirely up to you. I have an Example OneNote Notebook that you can take a look at here: bit.ly/MathsOneNoteTeachers
Using OneNote as a Planner
I have blogged about using OneNote as a planner. I no longer use a physical planner, instead choosing to use OneNote. You can find out how to set up your own Planner OneNote here: https://mrallanmaths.wordpress.com/2018/12/03/using-onenote-as-a-planner-a-few-years-on/
Immersive Reader
Immersive Reader (also known as Microsoft Learning Tools) allows pupils with additional support needs to access text in a fully supported way. The support is customisable, and the best way to learn about it is to give it a go.
You click on “View” in the toolbar then select “Immersive Reader”
This is available in OneNote, Word, PowerPoint and so on.
Sway
Sway lets you create interactive newsletters, and much more.
Here’s how to get started.
Log into Glow and open up OneDrive. You then want to click on the 9 dots at the top left of the screen:

And select Sway:

You can then choose to start a New Blank Sway:

To begin with, the Sway looks pretty boring, but you need to put some content in and choose a design:

I’ve given it a title and written a little bit of text and added a picture:

Now I’m going to choose a Design.
Click on Design in the top left corner then Styles in the top right corner:

Pick a design you like:

Then click “Play” in the top right:

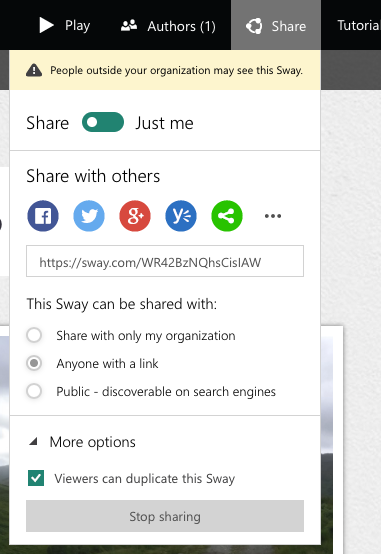
You can view the Sway here: Sway
Here are some more examples of Sways that you can take a look at:
Glenrothes High School Pupil Equity Fund Update: https://sway.office.com/t4Xy1SIHNRV94wmn?ref=Link
Bertha Park High School Winter Update: https://sway.office.com/dOuvWTYJz8KIOsED?ref=Link&loc=play
N5/Higher Maths Revision: bit.ly/MathsRevisionN5H (This one is worth sharing with pupils)
Forms
Ever used Survey Monkey? Well there’s a better version of that available from Microsoft and it’s called Forms.
You can use Forms to get feedback from pupils/parents/staff for any number of things.
You can also use it to build Quizzes that can serve as assessments.
To access Forms, you click on the 9 dots at the top left in OneDrive:

“New Form” lets you make a survey. “New Quiz” works in pretty much the same way, but you also can assign points to each question and select correct answers.
The best thing to do if you want to learn more about using Forms it to use this link here: https://education.microsoft.com/courses-and-resources/courses/forms
Sharing with people outside Glow or Pupils/Staff who don’t know Usernames/Passwords
Ideally, the solution to this is to get staff and pupils to just remember their passwords. However, I have found it useful to be able to share links that work without signing in.
I use bit.ly to create shortened web links. If you sign up for a free account your can customise the links. Paying for a subscription allows you to edit and delete links once you’ve made them – I haven’t bothered to do this.
Learning More / Getting Help
You will find lots of free courses available here: https://education.microsoft.com/
Log in using your Glow username and password and you can build up a profile and collect points and badges once you have completed the courses. It’s the best way to learn about the Microsoft tools available on Glow apart from this Blog post!
OneNote intro: https://education.microsoft.com/Getting-Started-with-OneNote
I hope you found this useful.
If you have any questions that you think I might be able to answer, do get in touch on Twitter or in the comments below.


 I’m a primary school teacher, passionate about digital learning but by no means an expert.
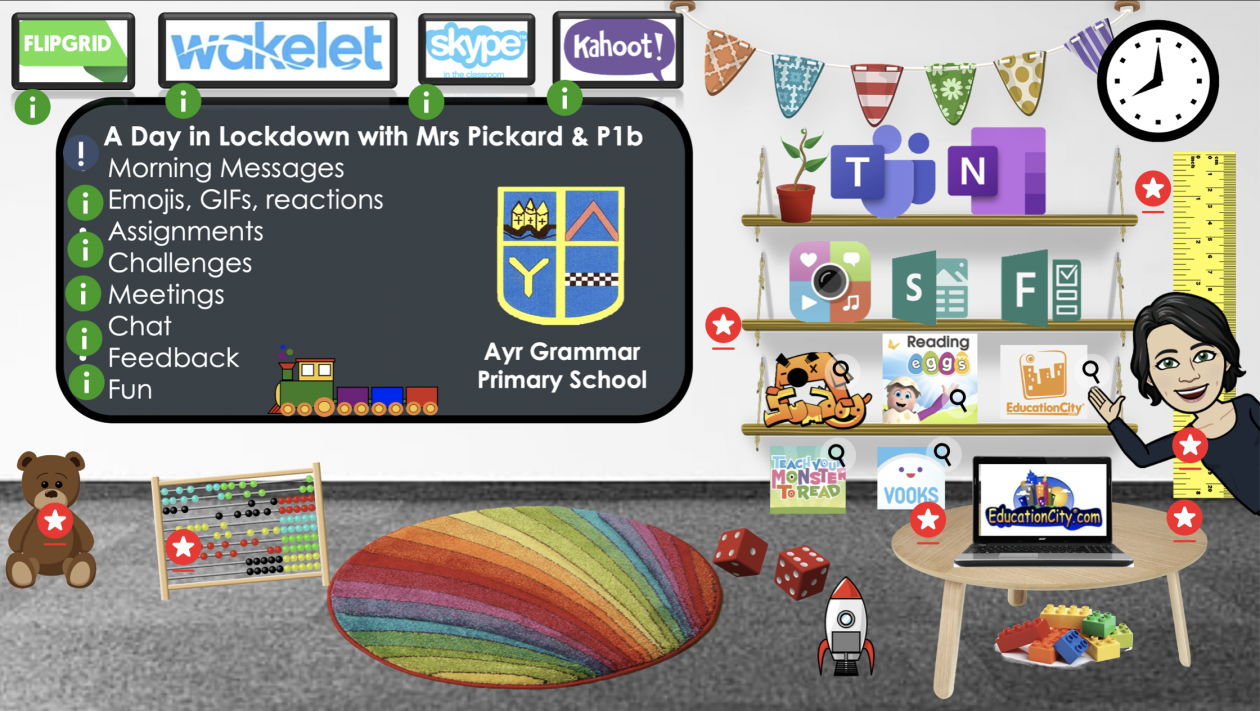

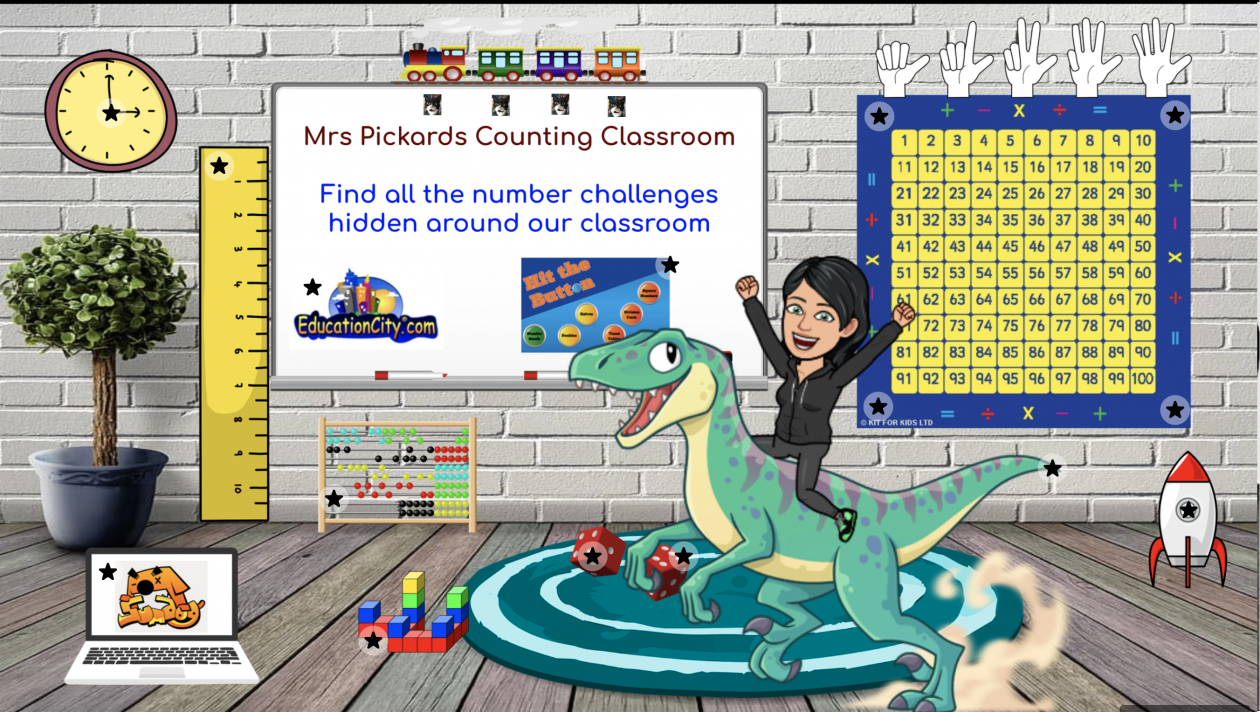
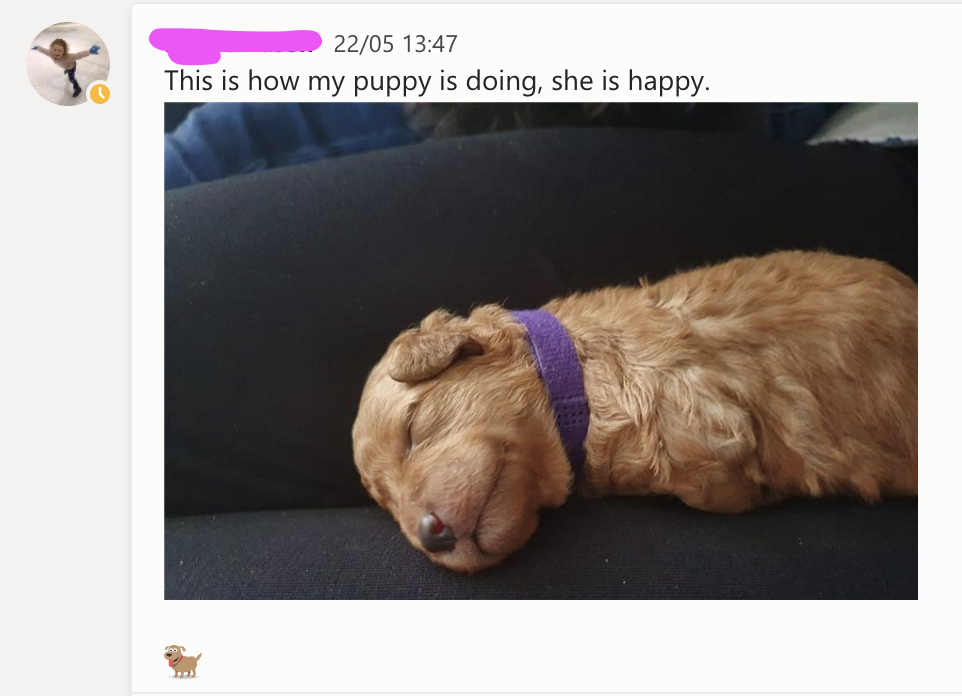
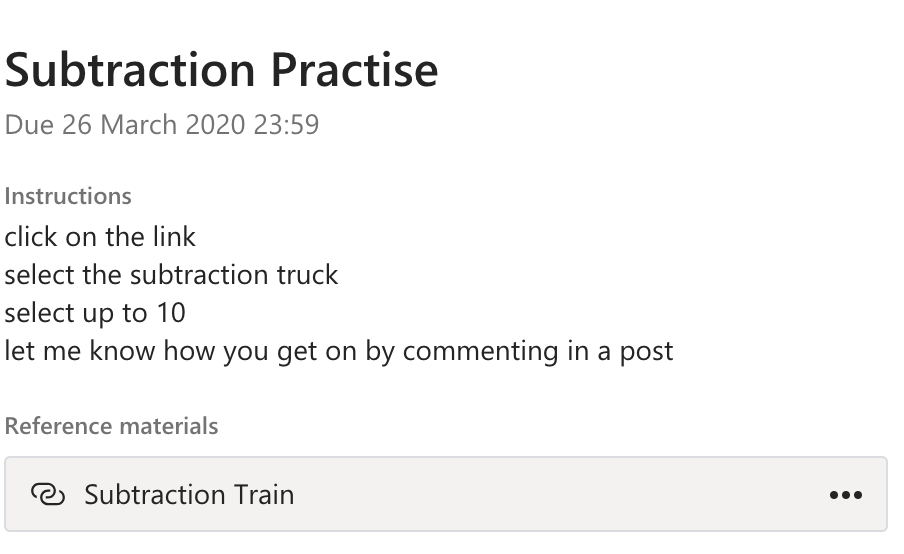
 I used this app to help
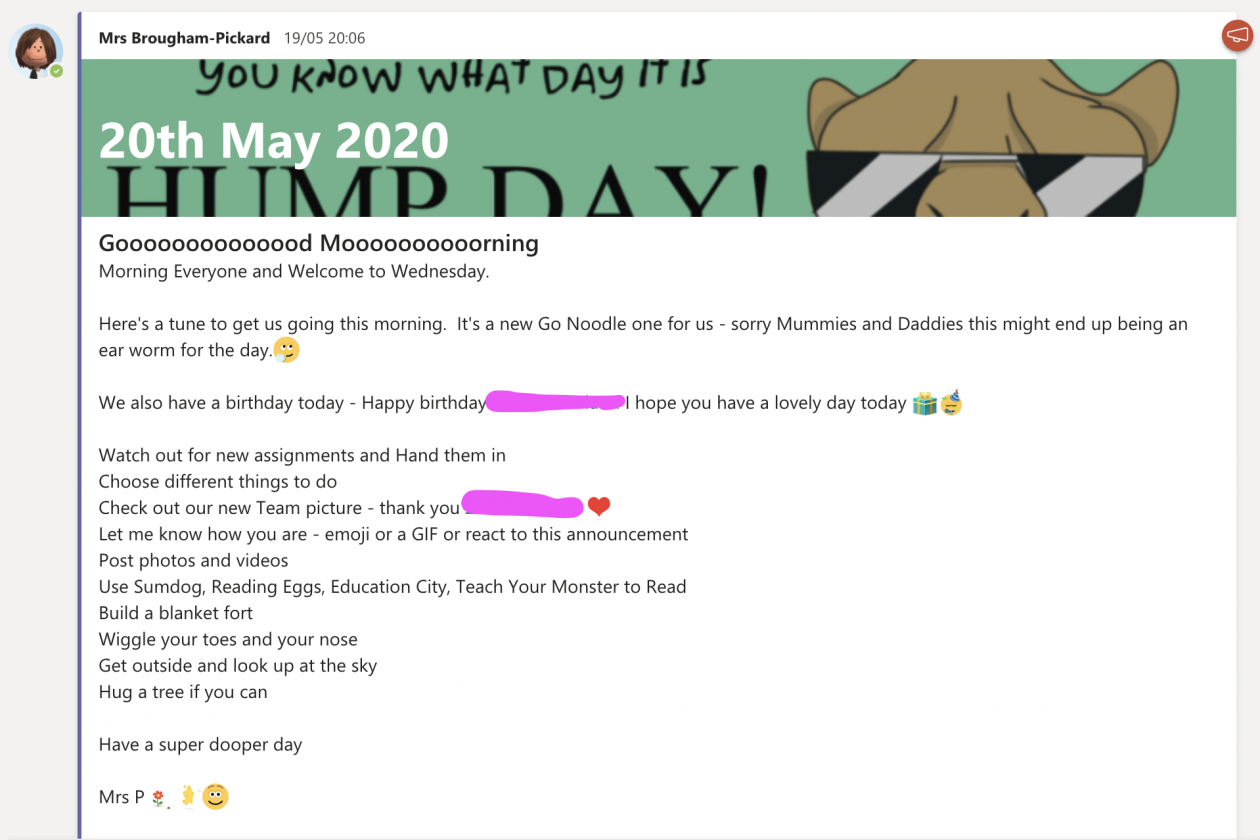 The responses in the beginning:
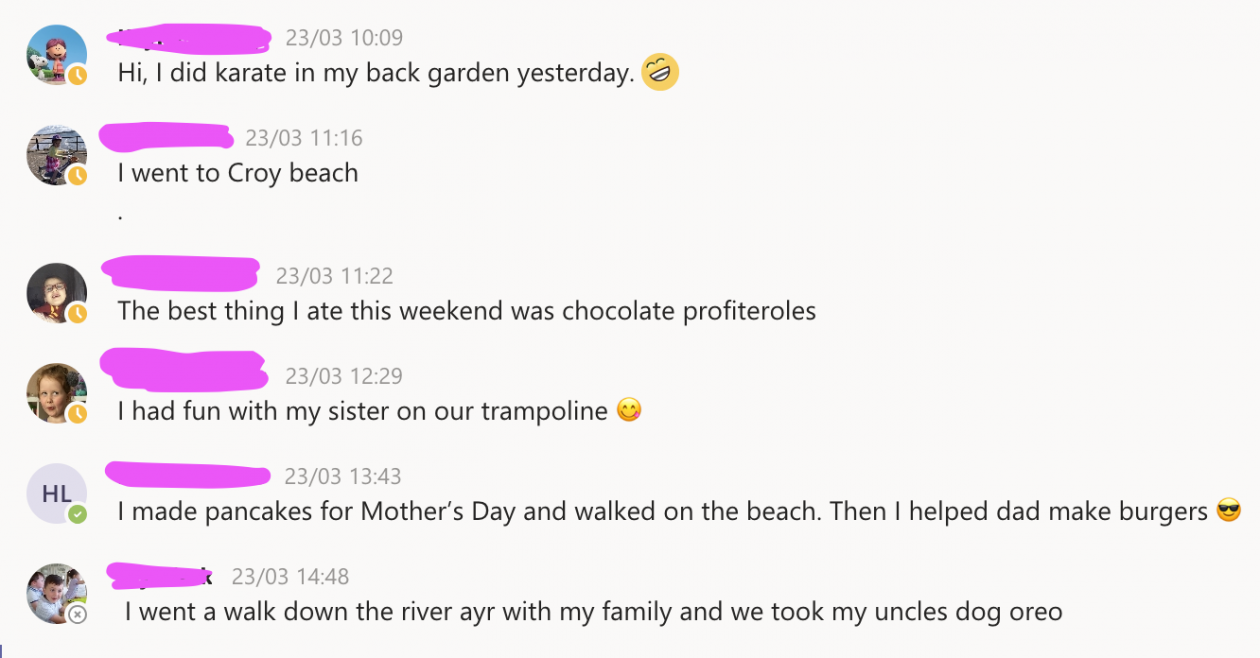


 Amanda Pickard